
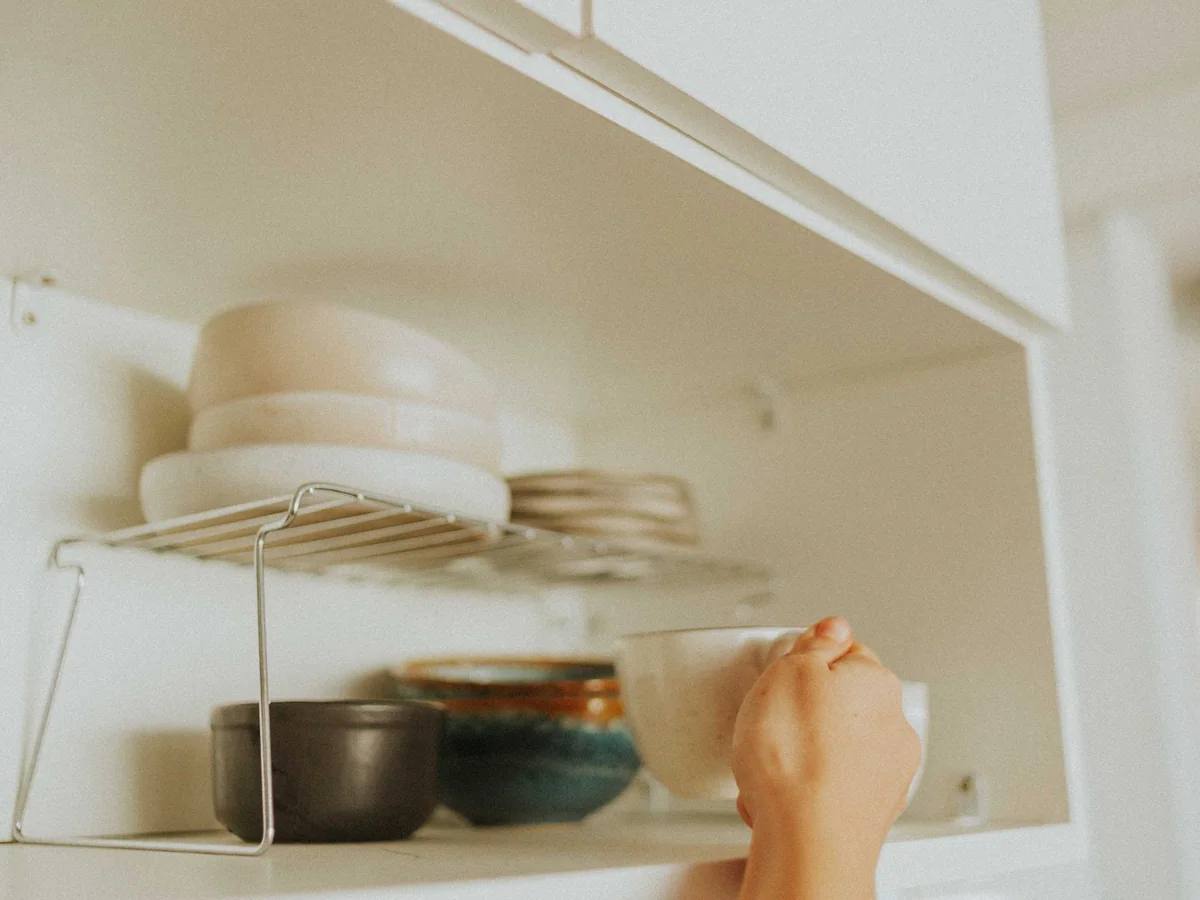
A method for making deep pantry shelves visible, usable, and easier to keep stocked without buying a full matching system. This guide is written for home cooks dealing with food that disappears at the back of a pantry and focuses on turn deep shelving into a visible inventory system that is easy to maintain. Product categories are compared by fit and tradeoff rather than a made-up test score.
Quick answer
Divide deep shelves into front and back zones, use low-sided bins for categories, and keep date-sensitive food at eye level. Measure shelf depth and clear height before ordering containers.
Product categories to compare
These categories reflect the most important product differences for this decision. Use the retailer searches to compare current stock, dimensions, care instructions, and warranty terms.
Best overall
clear low-sided pantry bins
- Best for
- shelves that need visible categories without heavy lifting
- Look for
- A width that fits the shelf, a low front, and smooth edges for easy cleaning.
- Tradeoff
- Very large bins become heavy when full.
Best for tighter spaces
lazy Susan for oils and jars
- Best for
- deep corners and narrow shelves
- Look for
- A raised rim, smooth rotation, and a diameter that clears the shelf edges.
- Tradeoff
- Tall bottles can collide with the shelf above.
Best value-minded choice
stackable airtight food containers
- Best for
- baking staples and bulk foods that need protection
- Look for
- A square footprint, replaceable gasket, and a lid that can be fully cleaned.
- Tradeoff
- Airtight seals do not make spoiled food safe to eat.
Empty One Zone at a Time
Start with one shelf rather than the entire pantry. Group items by how they are used: breakfast, baking, dinner, snacks, and overflow. Check expiration dates and remove anything spoiled or duplicated. Wipe the shelf and let it dry before placing bins back. This one-shelf sequence keeps the project manageable and gives you a realistic sample of what the full pantry needs.
Create Front and Back Rows
Deep shelves work best when daily items stay in front and refills sit behind them. Use a turntable for oils, sauces, or small jars that would otherwise be hard to reach. A pull-out drawer is helpful for heavy items, but it reduces shelf height and must be measured carefully. If you use a basket, choose a low front so you can see what is inside without lifting it off the shelf.

Label for the Next Person
A clear container without a label becomes a mystery as soon as it is filled. Label the category on the front and the date on the lid if you transfer food out of its original packaging. Keep the manufacturer's cooking instructions or date information nearby when it matters. For bulk grains and flours, use containers that fit the shelf and can be washed completely dry.
Build a Restock Routine
Add a small shopping list on the pantry door or use a phone note before the last serving disappears. When a back-row item moves forward, add its replacement to the list. Once a month, check the lower and upper shelves for forgotten food. Organization lasts when restocking is part of cooking, not a separate seasonal project.
Frequently asked questions
Should I remove food from original packaging?
You can for frequently used staples if you keep the date and instructions. For allergy information, recall notices, or foods used slowly, the original package may be safer.
Are clear bins always better?
They are helpful when visibility drives use, but opaque bins can hide clutter in open shelving. The best choice depends on whether you need to see the contents or conceal them.
How do I organize a pantry with very tall shelves?
Use stackable bins, label the sides of upper bins, and keep heavy items lower. A small step stool stored nearby is safer than climbing on a shelf.
What to do next
Write down the room dimensions, the items that must fit, and the maintenance you are willing to repeat before choosing a product. The best purchase is the one that fits the space and the household routine, not merely the one with the longest feature list.